Quick Deploy Windows to VHDX (or a real drive) from Windows
If you have an install.wim and a burning desire to install Windows manually, this is the guide for you.
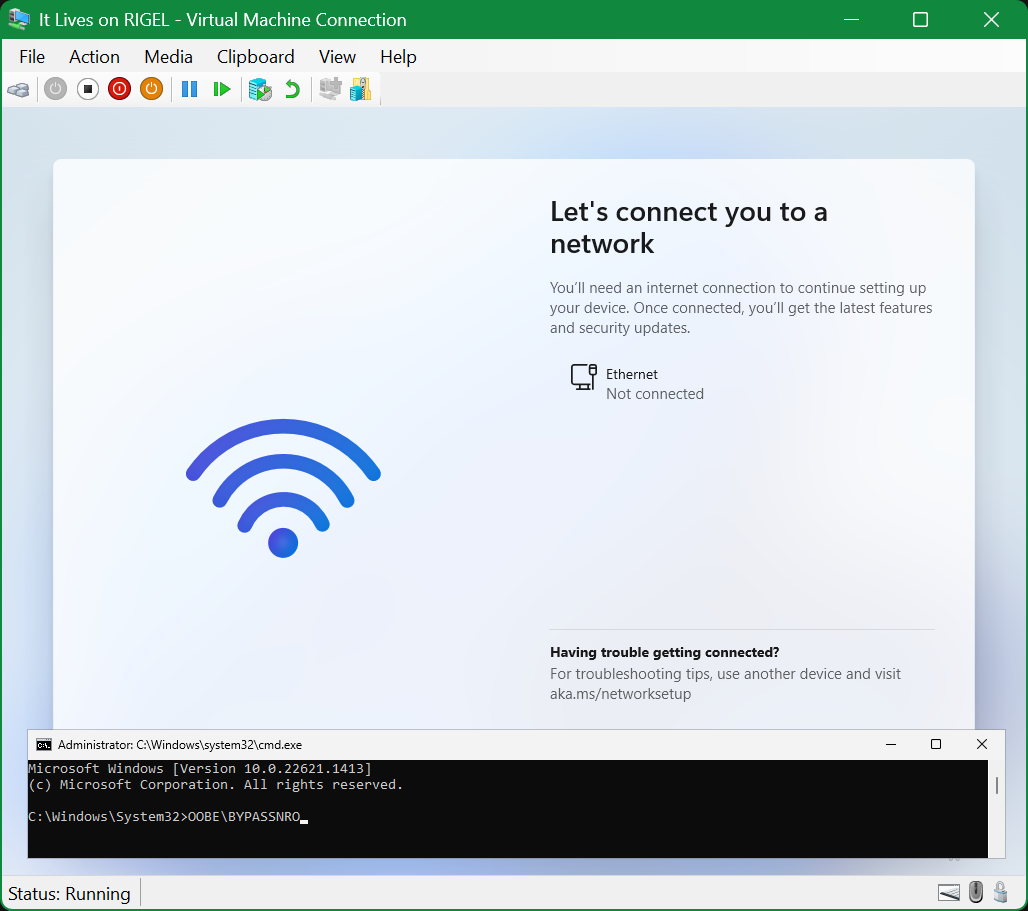
The steps in this document assume that you’re running as Administrator. If you’re not, do.
Prepare the destination⌗
If you’re using a VHDX, create a new one and mount it. If you’re using a real disk, read on.
  If you want more than 64GB, adjust this ↓↓ value.
New-VHD Windows.vhdx -Dynamic -SizeBytes (64*1073741824)
ComputerName            : RIGEL
Path                    : C:\Deployment\Windows.vhdx
VhdFormat               : VHDX
VhdType                 : Dynamic
FileSize                : 4194304
Size                    : 68719476736

Mount-VHD Windows.vhdx
Launch DISKPART to partition it.
diskpart
Microsoft DiskPart version 10.0.26100.1150

Copyright (C) Microsoft Corporation.
Find the new virtual disk you just mounted.
list vdisk

VDisk ###  Disk ###  State                 Type       File
---------  --------  --------------------  ---------  ----
VDisk 0    Disk 1    Attached not open     Expandable  C:\Deployment\Windows.vhdx
If you’re using a physical disk instead, use
list disk:list disk Disk ### Status Size Free Dyn Gpt -------- ------------- ------- ------- --- --- Disk 0 Online 1863 GB 310 GB * Disk 1 Online 64 GB 64 GB *
SELECT the disk number from the Disk ### column.
CREATE one EFI System Partition (ESP) and one OS partition.
We’ll FORMAT them and ASSIGN them letters at the same time.
If the drive letters I’ve chosen here are not available on your machine, adjust the rest of this guide accordingly.
select disk 1

Disk 1 is now the selected disk.

clean

DiskPart succeeded in cleaning the disk.

convert gpt

DiskPart successfully converted the selected disk to GPT format.

create partition efi size=200

DiskPart succeeded in creating the specified partition.

format fs=fat32 quick

  100 percent completed

DiskPart successfully formatted the volume.

assign letter=q

DiskPart successfully assigned the drive letter or mount point.

create partition primary

DiskPart succeeded in creating the specified partition.

format fs=ntfs quick label=OS

  100 percent completed

DiskPart successfully formatted the volume.

assign letter=r

DiskPart successfully assigned the drive letter or mount point.
Copying from the above code block may be difficult, so here’s the condensed version containing only the commands.
Please note that I left off
select disk X, because blindly copying and pasting that part could be catastrophic for whatever was on disk 1 if it’s not the VHDX.clean convert gpt create partition efi size=200 format fs=fat32 quick assign letter=q create partition primary format fs=ntfs quick label=OS assign letter=r
And finally, exit diskpart.
exitInstall Windows⌗
Double-click your Windows ISO, or find your media sources directory, or grab whatever WIM file you have laying around.
For the purposes of this document, I’ll assume your ISO is mounted at D:\.
If you’re comfortable with dism.exe1, I’ll include steps for both PowerShell DISM and dism.exe.
Determine which Windows image to install⌗
PowerShell⌗
Get-WindowsImage -ImagePath D:\sources\install.wim
...

ImageIndex       : 5
ImageName        : Windows 11 Pro
ImageDescription : Windows 11 Pro
ImageSize        : 16,675,660,366 bytes

...

ImageIndex       : 10
ImageName        : Windows 11 Pro N for Workstations
ImageDescription : Windows 11 Pro N for Workstations
ImageSize : 16,003,295,008 bytesdism.exe⌗
dism /get-wiminfo /wimfile:D:\sources\install.wim

... largely the same as above ...
I want Professional, so I’m going to stick with index 5.
Apply it⌗
PowerShell⌗
                                            The image you want  NTFS volume
                                                             ↓            ↓
Expand-WindowsImage -ImagePath D:\sources\install.wim -Index 5 -ApplyPath R:\
Operation [Running ]dism.exe⌗
                                          The image you want NTFS volume
                                                           ↓           ↓
dism /Apply-Image /ImageFile:D:\sources\install.wim /Index:5 /ApplyDir:R:\
Install the bootloader (important!)⌗
Great, you’ve got Windows installed! Congrats! It can’t boot.
   NTFS volume       ESP
        ↓             ↓
bcdboot R:\Windows /s Q: /f UEFI
Boot files successfully created.
Detach the destination drive⌗
Dismount-VHD Windows.vhdx… or eject the physical drive you were using.
You’re done!⌗
Boot it in Hyper-V or whatever.
-
… then you wouldn’t be here. Even so! ↩︎